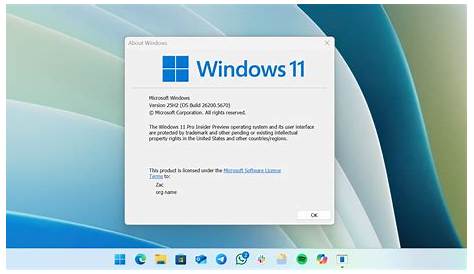
To check your Windows 11 version, simply follow a few steps. Knowing your version is essential for ensuring compatibility with software and updates. Here’s how to find that information quickly and easily.
How do I find my Windows 11 version?
Before you start, ensure you have access to your PC and are logged in as an administrator.
To check your Windows 11 version, follow these steps:
- Click on the Start menu located at the bottom-left corner of your screen.
- Select Settings (the gear icon).
- In the Settings window, click on System.
- Scroll down and click on About.
- Look for the Windows specifications section. Here, you will find your version number listed next to Version and OS Build.
What version am I currently using?
The version number displayed in the Windows specifications section indicates the specific release of Windows 11 you are using. For instance, if it says 21H2, it means you have the second half of 2021's release. Each version may offer different features, performance enhancements, and security updates. Knowing your version is particularly important if you are trying to run specific applications that may require a certain version.
What should I do if my version is outdated?
If you find that your version of Windows 11 is outdated, updating it is usually a straightforward process:
- Go back to the Settings menu from the Start menu.
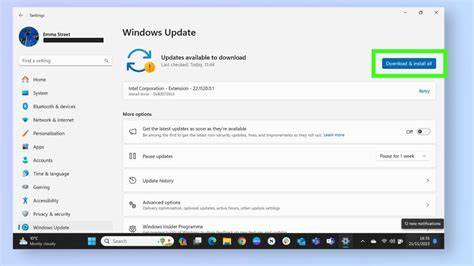
- Click on Windows Update on the left sidebar.
- Click on Check for updates. Windows will automatically search for available updates.
- If updates are found, follow the prompts to install them.
- Once the updates are installed, you may need to restart your computer.
Ensure you save any work before updating, as your PC may restart during the process.
If you encounter issues while updating, you can troubleshoot by visiting the Windows Update troubleshooter. To do this, go to Settings > System > Troubleshoot > Other troubleshooters.
Conclusion
After checking your version, you can proceed to update or verify software compatibility. Keeping your system up to date is vital for maintaining security and performance. If you encounter any issues, consider reaching out to Windows support for assistance.
Frequently Asked Questions
How often should I check for Windows updates?
It's a good practice to check for updates at least once a month or whenever you notice new features or performance changes.
Can I roll back to a previous version of Windows 11?
Yes, if you've recently updated and are experiencing issues, you can roll back within a limited time frame using the Recovery options in Settings.
What if my PC doesn't meet the requirements for the latest Windows version?
If your PC doesn't meet the requirements, you may need to upgrade your hardware or continue using your current version.
How can I find out what features are included in my Windows version?
You can search online for your specific version number along with 'features' to find detailed information about what's included.