If you're looking to install Windows 11 on a new computer or upgrade your existing system, the first step is to download the Windows 11 ISO file. You can obtain this file directly from Microsoft's website and create a bootable USB drive for installation. This guide offers a clear, step-by-step process to help you through the entire procedure without complications.
How do I download the Windows 11 ISO file?
To download the Windows 11 ISO file, follow these steps:
- Visit the official Microsoft Windows 11 download page.
- Scroll down to the section labeled 'Download Windows 11 Disk Image (ISO)'.
- Select 'Windows 11' from the drop-down menu.
- Click 'Download'.
- Choose your preferred language from the list and click 'Confirm'.
- After confirming your language, you will see options for downloading the 64-bit version. Click on the link to start the download.
The ISO file will be saved to your computer, typically in your Downloads folder.
What do I need to create a bootable ISO?
Before you create a bootable USB drive from the Windows 11 ISO, ensure you have the following:
- A USB flash drive with at least 8 GB of storage.
- A computer running Windows 10 or later.
- Administrative privileges on your computer.
- A reliable internet connection (for downloading tools, if needed).
- Optional: A tool like Rufus or the Windows Media Creation Tool for creating the bootable drive.
How can I create a bootable USB from the ISO?
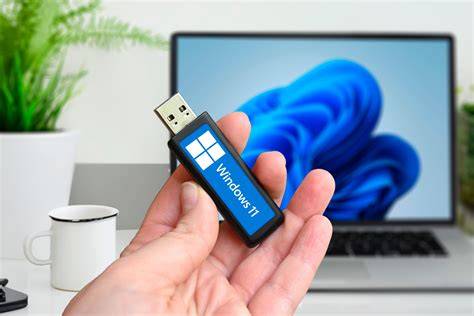
To create a bootable USB drive from the Windows 11 ISO, you can use either Rufus or the Windows Media Creation Tool. Here’s how to do it with both:
Using Rufus:
- Download and install Rufus from its official website.
- Insert your USB flash drive into your computer.
- Launch Rufus. Your USB drive should automatically appear in the 'Device' dropdown.
- Under 'Boot selection', click 'Select' and browse to your downloaded Windows 11 ISO file.
- Ensure the 'Partition scheme' is set to GPT and 'File system' to FAT32.
- Click 'Start' to begin the process. Confirm any prompts that appear.
Using Windows Media Creation Tool:
- Download the Windows Media Creation Tool from the Microsoft website.
- Run the tool and accept the license terms.
- Select 'Create installation media (USB flash drive, DVD, or ISO file) for another PC' and click 'Next'.
- Choose the language, edition, and architecture (64-bit) and click 'Next'.
- Select 'USB flash drive' and click 'Next'.
- Choose your USB drive from the list and click 'Next' to create the bootable USB.
What common issues might I encounter?
During the download or creation process, you may come across several common issues:
- Download fails or is interrupted: Ensure your internet connection is stable. If the download keeps failing, try using a different browser.
- USB drive not recognized: Make sure your USB drive is properly connected. If it doesn’t show up, try a different USB port or another computer.
- Rufus error messages: Ensure you have the latest version of Rufus installed. If you encounter errors, check that your USB drive is formatted correctly before starting the process.
- Insufficient storage space: Ensure your USB drive has enough space for the Windows 11 ISO file. If it doesn't, consider using a larger USB drive.
What should I do after creating the bootable ISO?
Once you've successfully created the bootable USB drive with the Windows 11 ISO, you can proceed with the installation. Here are your next steps:
- Insert the bootable USB drive into the computer where you want to install Windows 11.
- Restart the computer and enter the BIOS/UEFI settings (usually by pressing a key like F2, Del, or Esc during startup).
- Set your USB drive as the primary boot device in the boot order settings.
- Save the changes and exit the BIOS/UEFI.
- Your computer should boot from the USB drive, initiating the Windows 11 installation process. Follow the on-screen prompts to complete the installation.
Conclusion
After you’ve created your bootable USB drive, you’re ready to install Windows 11. Follow the steps to boot from the USB drive, and you'll be guided through the installation process. If you encounter any problems, refer to the common issues section for troubleshooting tips.